We understand that each business is unique and requires a specialized strategy. We don’t offer “one size fits all” solutions or cookie-cutter plans. We customize our action plans to meet the individual needs of our clients.
We take pride in being a budget-friendly digital marketing agency. We strive to provide our clients with the best possible services at an affordable price.
We are committed to helping our clients reach their goals. Whether you’re looking to increase your profits, expand your customer base, or build brand awareness, our team of experienced professionals has the expertise to make it happen.
When it comes to advertising, we understand the importance of maximizing your budget. We believe in taking a data-driven approach to marketing, which means we focus our efforts on spending where it will make the biggest impact.
Our team of digital marketing experts works with you to create a plan tailored to your individual needs, and we go above and beyond to ensure that you reach the heights you’ve dreamed of for your business.
awards and industry recognition
Our Vision
We don’t succeed unless you do.
Our vision is to see businesses of all sizes reach their full potential by using modern marketing strategies and technologies proven to help scale businesses in size, reach, revenue, or all three.
Who Are We?
A digital marketing agency is only as good as the team that makes it happen. Our team is comprised of a diverse group of people with many years of experience in digital marketing, business, and design.
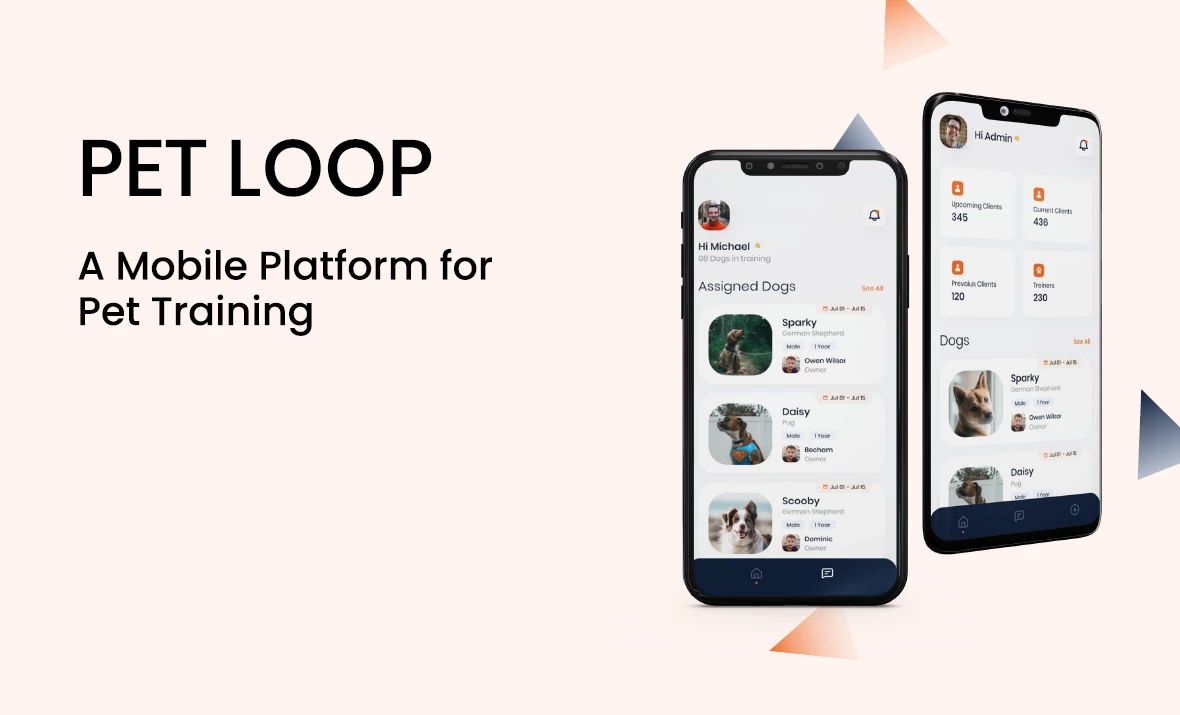
We offer a wide range of services, all designed to meet each client’s specific needs. As a full-service digital marketing agency, we provide our customers with a wide range of services, including website design, mobile development, search engine optimization, and more.
Our clients come from all different backgrounds and industries, but they all have one thing in common: success. Our team has helped countless individuals and businesses reach their goals, no matter how big or small.
This website uses cookies so that we can provide you with the best user experience possible. Cookie information is stored in your browser and performs functions such as recognising you when you return to our website and helping our team to understand which sections of the website you find most interesting and useful.
Strictly Necessary Cookies
Strictly Necessary Cookie should be enabled at all times so that we can save your preferences for cookie settings.
If you disable this cookie, we will not be able to save your preferences. This means that every time you visit this website you will need to enable or disable cookies again.


 Search Engine Optimization
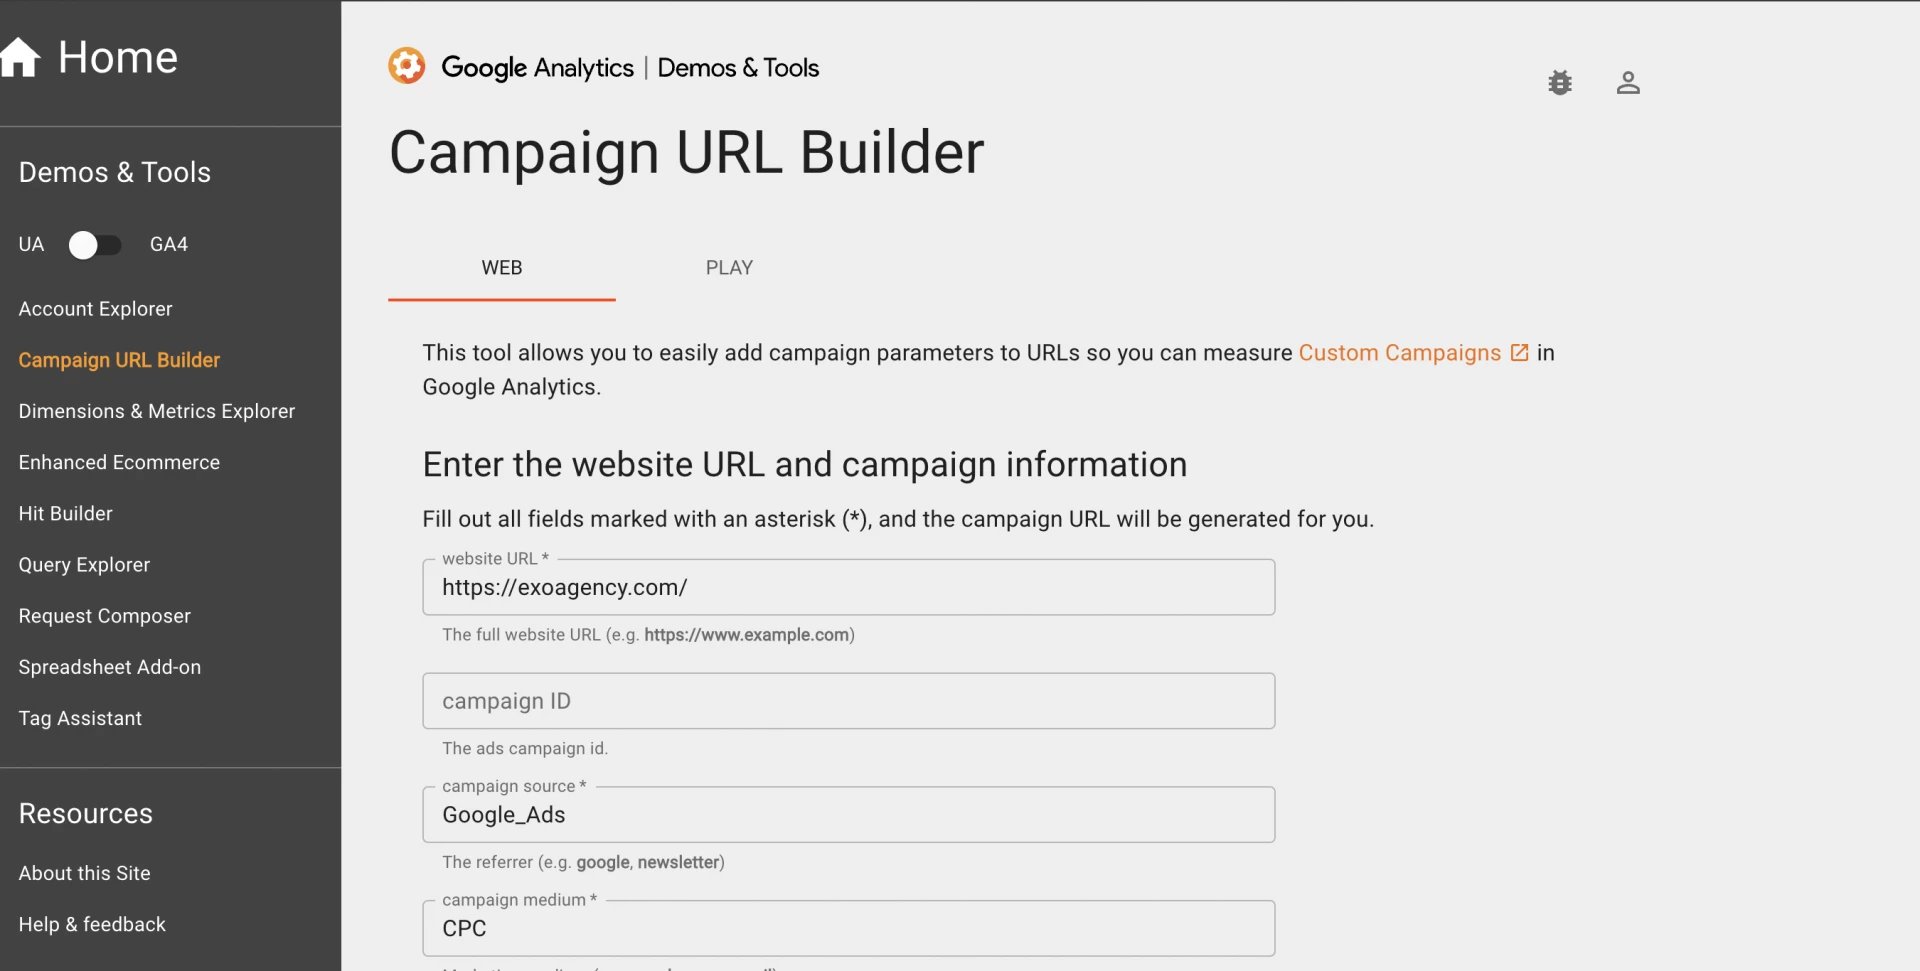
 Pay Per Click (PPC)
 Web Development
 Mobile App Consulting
 eCommerce Consulting